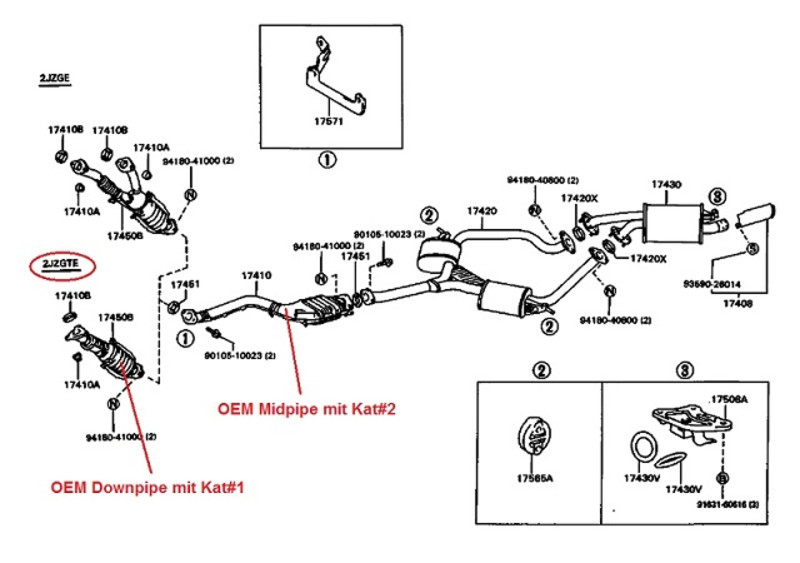
A downpipe for EU / US spec models typically replaces the two exhaust pipes identified here as "OEM downpipe with cat # 1" and "OEM midpipe with cat # 2" in one piece.
Required parts:- Downpipe suitable for EU / US Spec TT
- Matching gasket 3-hole front / 2-hole rear
- Screws 2x 90105-10023 for flange 2-hole rear
- Nuts 3x 90179-10070 for flange 3-hole front
- Nuts 2x 94180-41000 for flange 2-hole rear
- Possibly new studs 3x 90126-10013 for front flange
- Possibly sports / racing cat for welding
- Ratchet wrench with 12 and 14 hexagon nuts, different extensions and joint
- 12 and 14 fork or ring spanner
- Eventually WD40 / rust remover
Expansion of serial down / mid pipe
.jpg)
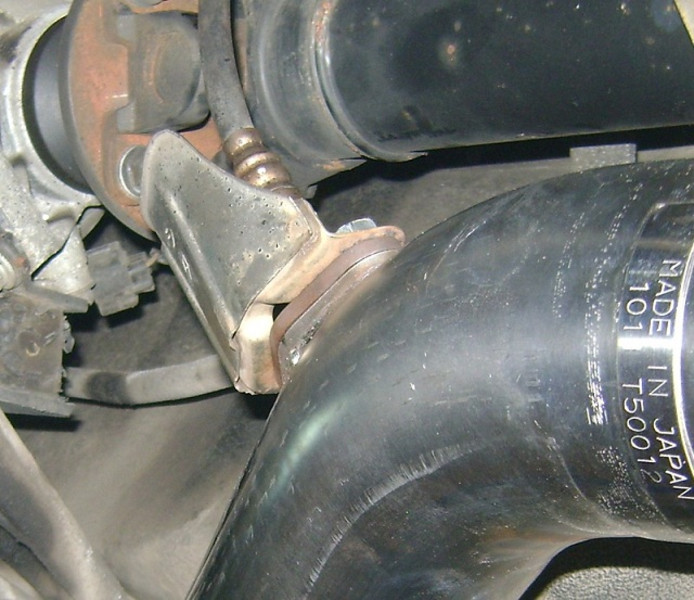
1) Spray all screw connections with WD40 & remove the lambda probe with protective plate.
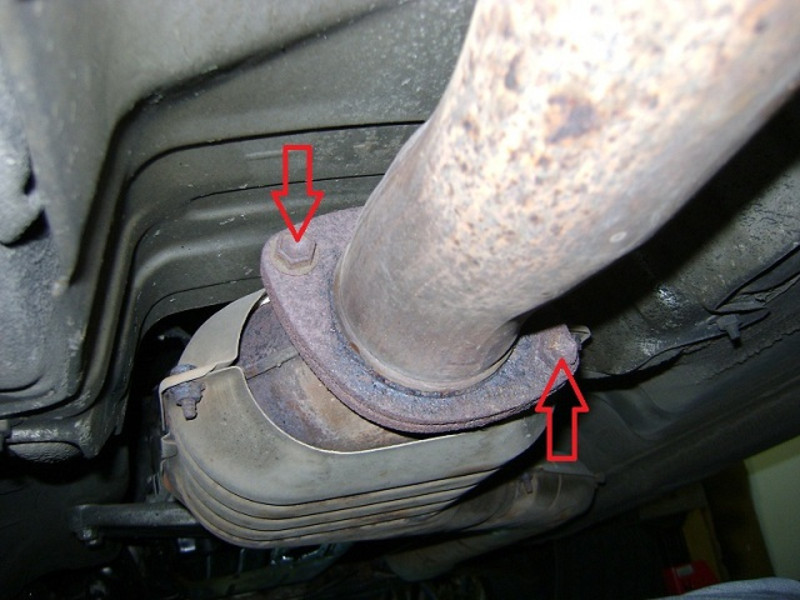
2) Loosen the midpipe and exhaust bracket bolts and remove the midpipe.

3)

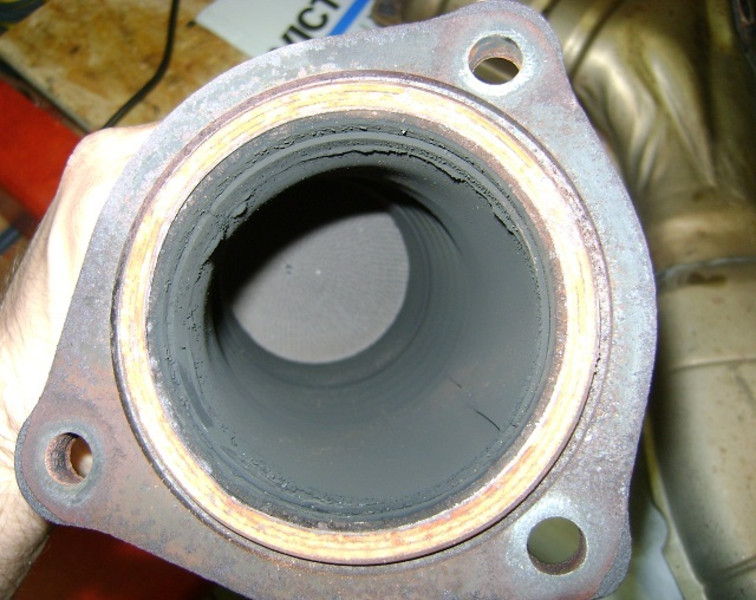
4) Unscrew downpipe bolts with cat # 1 and remove downpipe.
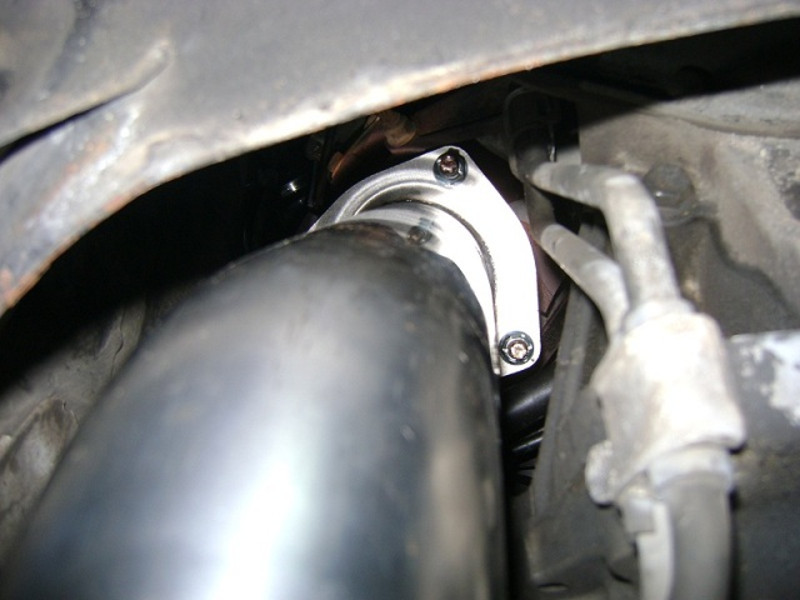
5) Image Flange Serial Downpipe EU / US Spec

6) Image Cat # 1 Serial Downpipe EU / US Spec
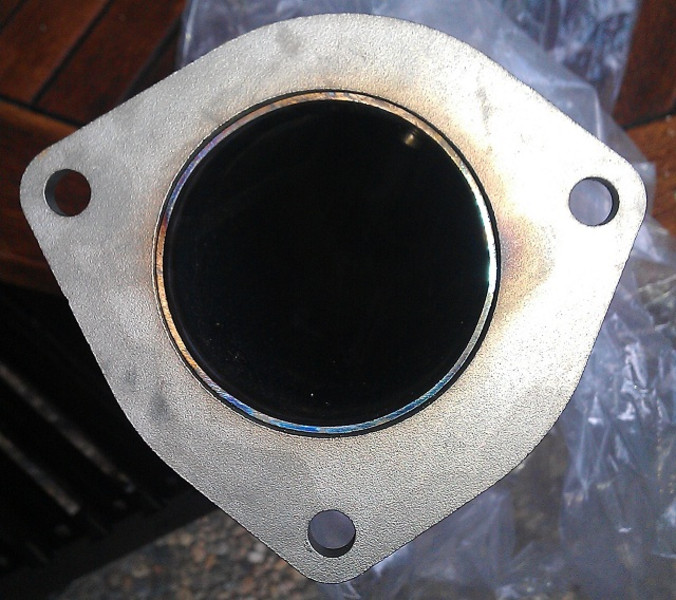
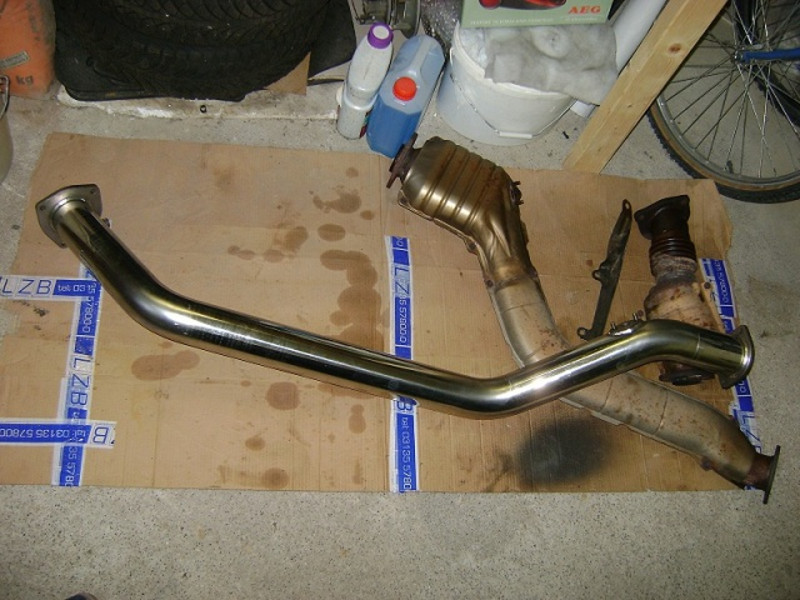
7) Flange Aftermarket Downpipe 80mm = ~ 3.15 inches
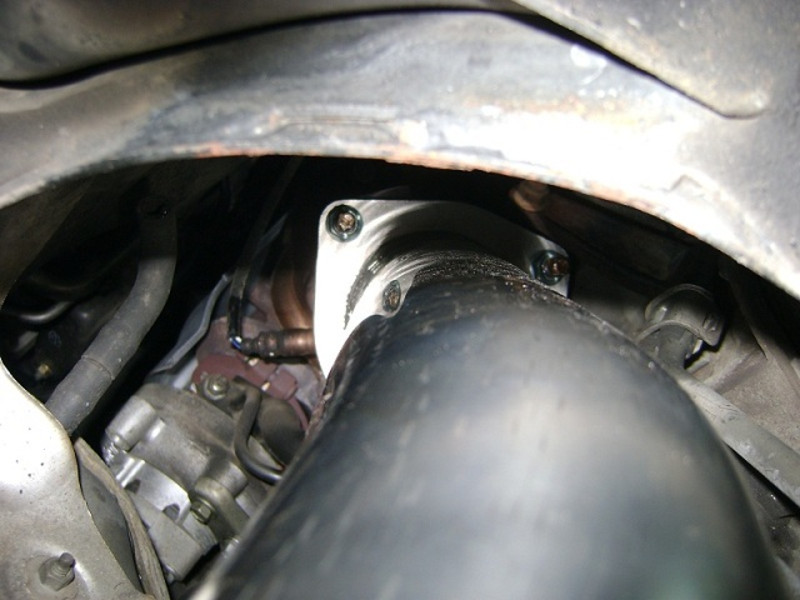
8) Place downpipe and mount with gasket and 3x nut on flange in front of the turbos.
9)
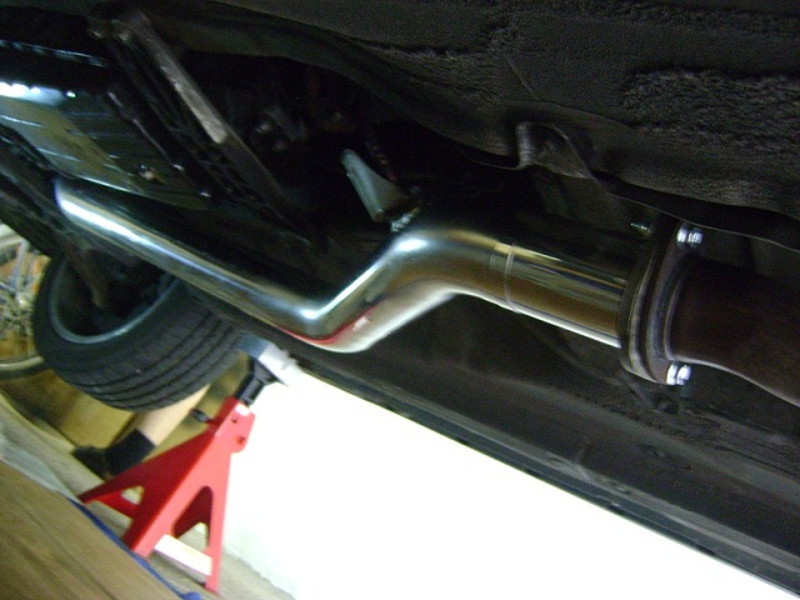
10) Connect downpipe with gasket and 2x bolts + nuts to the rear of the exhaust system.
11) Mount the lambda probe with protective plate on the new downpipe, finished
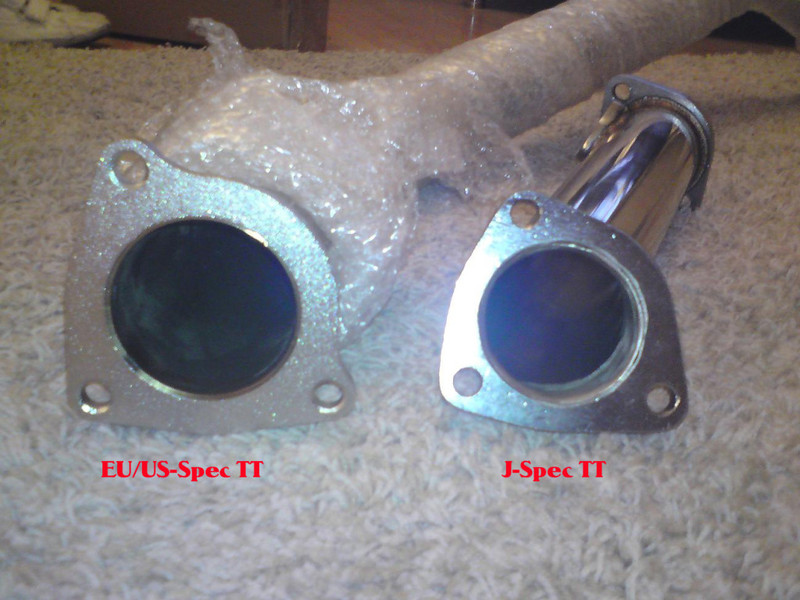
Info: A comparison picture between EU and J-Spec TT Downpipe